
There’s nothing that makes you look more put-together than a good manicure. And while bold, bright colors are fun and have their place, sometimes an understated, neutral manicure can make just as much of a statement.
This is particularly true of the latest trend: milky pink nails.
Milky pink nails seem to be everywhere right now and they’ve been popping up all over Instagram and other social media outlets. One of the reasons this trend is so popular is that milky pink nails look good on everyone regardless of their skin tone.
There are a few other reasons that have us just a little obsessed with milky pink nails.
They’re understated and super versatile. Unlike some other nail trends that can be a little bit over-the-top and maybe not suitable for every environment (or everyone’s tastes), milky pink nails are elegant and understated. Not only do they match with everything, they can take you from the beach to the office to a night on the town.
But one of the reasons we like them most is that you can do milky pink nails at home!
Yes you heard right. You can create this effect at home, and it’s not too hard! In this article we’re going to show you how to do that in two different ways.
Contents
Milky Pink Nails 101
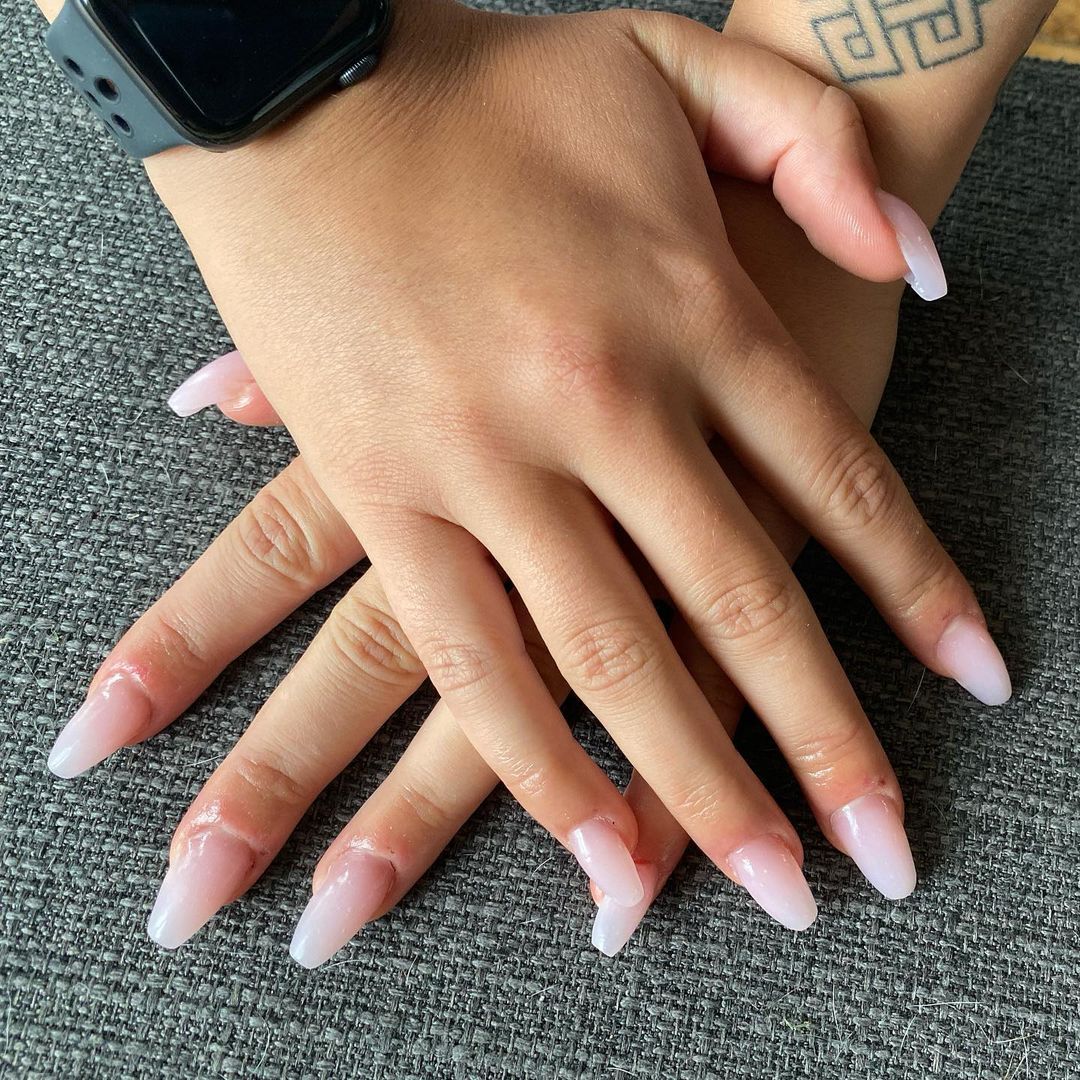
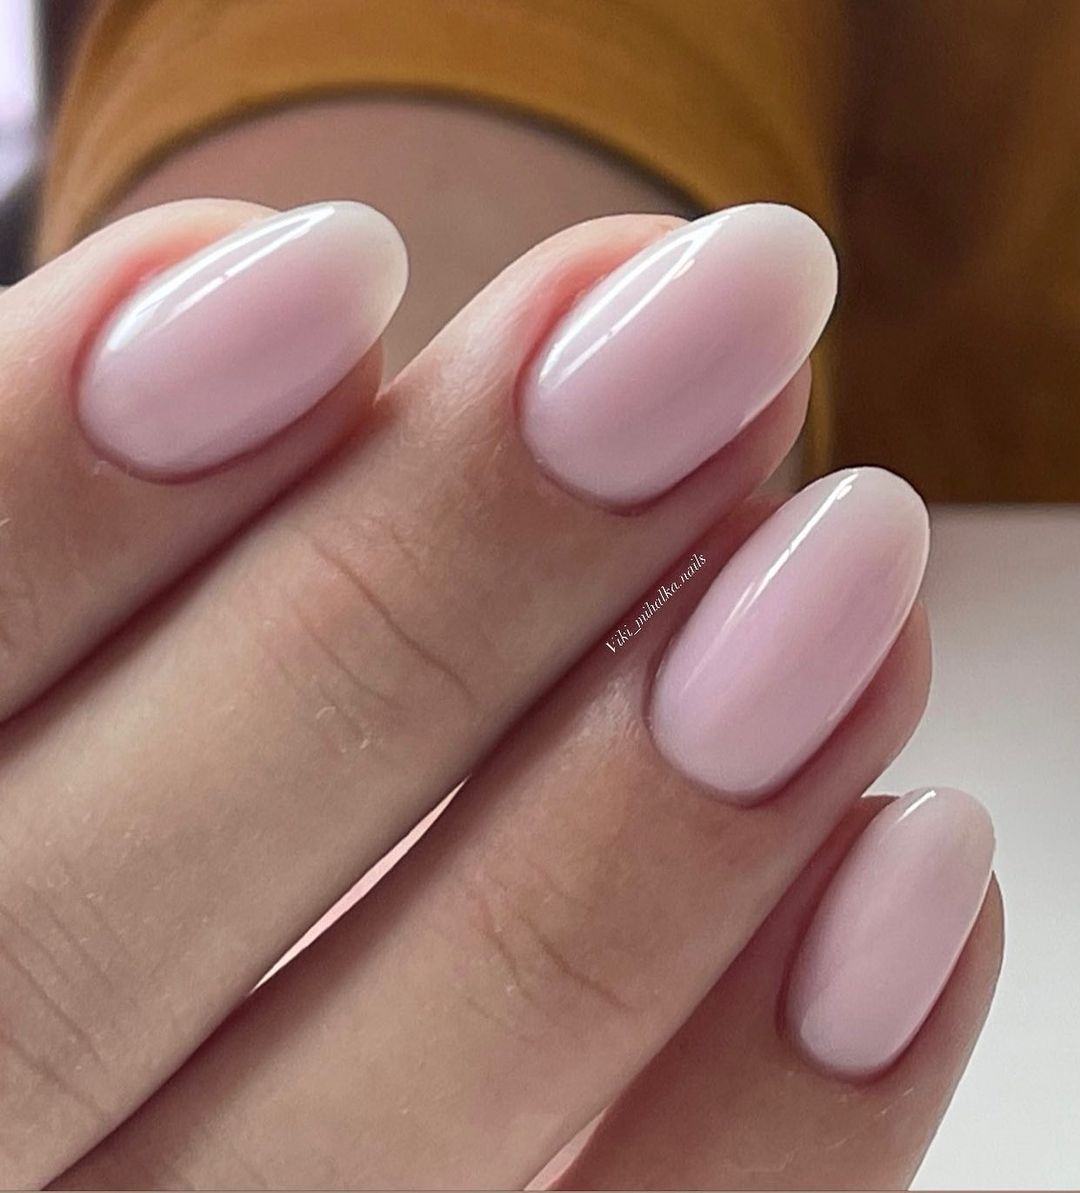
If you haven’t seen them already, they are kind of like an updated and re-imagined version of a French manicure. Except instead of having a clearly defined line, it’s more of a sheer, very delicate ombre that goes from slightly whiter at the tips to a very light pink at the cuticle.
So you end up getting a beautiful, semi-opaque light pink nail that sort of looks like you’ve been eating pink tea crisps while dipping them in milk.
In order to get this type of translucent effect shown above, you are going to have to use press on nails. Press-on nails are made of acrylic resin, but they are easier to apply than regular acrylic nails you’d get at the salon. And they are actually less damaging to your nails.
Some versions of the milky pink nail, however, are more opaque.
In this case, you can try the technique we’re going to show you on your natural nail. You don’t have to have super long nails for this look, but you do need a little bit of length if you want to go for the slight ombre look.
And there are also versions of the milky pink nail that don’t have an ombre effect at all. If you prefer this look, or having long nails for you is impractical because you do a lot of typing, for example, this works on short nails! No need for artificial nails for this version, you can do it on short nails. Below, we’ll show you how to do it.

How to Choose Your Nail Color
If you are going for milky pink nails, when choosing your pink, the lighter the better. Don’t attempt to do a drastic ombre of white to dark pink. It will just make you look like your cuticles are swollen and bleeding.
It’s not a good look.
Most really light pink colors will look good on everyone. But if you want to go for a slightly darker shade, then you need to take into account your undertones. If you are not sure if you have warm, cool or neutral undertones, check out our Skin Undertone Guide.
If you have cool undertones, choose a cooler pink, like Revlon Nail Enamel in Coy that has more of a blue base.

- Pink
- Always bare for you Sheer Collection
- 15ml
For those with warmer undertones, you want to go for a pink that leans a little more toward peach, like essie expressie nail polish in Crop Top & Roll.

- Quick Dry Nail Polish: This fast drying...
- One Step Nail Color: Apply 2 coats of...
- Easy Application: This nail polish...
- Wide Selection of Colors:...
- essie, America's Nail Salon Expert:...
If you are among the lucky bunch with neutral undertones, you can wear any color you want!
Milky Pink Nails – How to Do Your Own At Home 2 Ways!
We are going to show you how to do both the ombre pink milky nail and the one-color pink milky nail.
Are you Ready to jump in?
1. One-Color Milky Pink Nails
This is the version of the pink milky nails without the ombre effect. It’s ideal for those with shorter nails, if you just prefer the look of one solid color or you don’t want to have to bother with artificial nails.
And of the two, this is by far the easiest pink milky nail look to achieve.
For this look, all you really need is the right color of nail polish like OPI Nail Lacquer in Baby Take a Vow. And follow that up with OPI High Shine Top Coat .

The number of nail polish coats you put on before the top coat will depend on how sheer or opaque you want your nails.
If you want them looking like the photo above, you will need to do a couple of coats of polish.
2. Ombre Milky Pink Nails
Okay if you are ready for a challenge, this look requires a few more steps.
Here’s what you’ll need:
- Clear Press On Nails
(If you have short nails, you’ll want to get some press on nails because the milky pink nails need a bit of length to create the effect. If you have long, natural nails, feel free to try this technique without the press-ons to see how it goes.) - Super Strong Nail Glue for Press On Nails, Nail Tips & Acrylic Nails (8ml) NYK1 NailBond Brush On Glue for Press Ons, Tips & Acrylics - Long Lasting, Maximum Strength, Mess-Free Application
(if you’re using the press on nails) - Light Pink Nail Polish
- White Nail Polish
- Makeup sponge
(Any cheap wedge sponge will do, so don’t ruin your $20 beauty blender on this. Spoiler alert, you’ll have to throw it out after. The flat wedge shape is actually better for this purpose.) - Cotton swabs
- Nail Polish Remover
- High Gloss Topcoat
Here’s how to do it:
1. Apply Nails
Start by cleaning your nails with a bit of nail polish remover before you apply the nails. This will ensure that the nail surface is clean, so your nails will adhere properly and not prematurely pop off. Then, use nail glue to apply your clear nails.
Again, if you have long natural nails, you can try this technique without the acrylic press ons.
2. Apply Pink Polish
Apply one thin coat of pink nail polish to each of your nails. If you are going for the opaque ombre look, repeat this step and just add a couple more coats of pink to the entire nail.
Wait until your pink nail polish is fully dry before proceeding to the next step.
3. Grab Your Sponge
This is where things get a bit more tricky. To create your ombre milky nail look, apply your pink nail polish to the edge of the makeup sponge and white nail polish just below it.
Then, press the edge of the sponge onto your pink nail just slightly away from the cuticle (pink side down). This should give you a gradient effect that transitions from pink to white.
If you get some of the polish on your fingers, don’t worry. Just leave it for now.
4. Build the Color
Using a clean edge of your makeup sponge, apply white polish on the sponge and press it at the end of your nail. For the translucent ombre effect, you are aiming to have a slightly more opaque, white look at the tip of your nail and a sheer, pink shade toward the cuticle.
5. Clean Up
After your nail polish has dried, you’ll most likely have nail polish on the sides of your fingers from using the makeup sponge. Don’t worry, there’s a super easy fix. Just dip a cotton swab in nail polish remover, then carefully remove any polish on your skin or cuticles.
6. Apply Top Coat
The top coat is important for two reasons – so your manicure doesn’t fade or chip before it should and if you want that ‘milky’ look, you need a topcoat with a high-gloss finish.
And there you have it!
Conclusion
Whether you go for a translucent or opaque finish, choose the slight ombre or one solid color, use press on nails or apply to your natural nail, all of these pink milky nails are understated and elegant, which makes them versatile. They match everything and can take you everywhere because they are neutral.
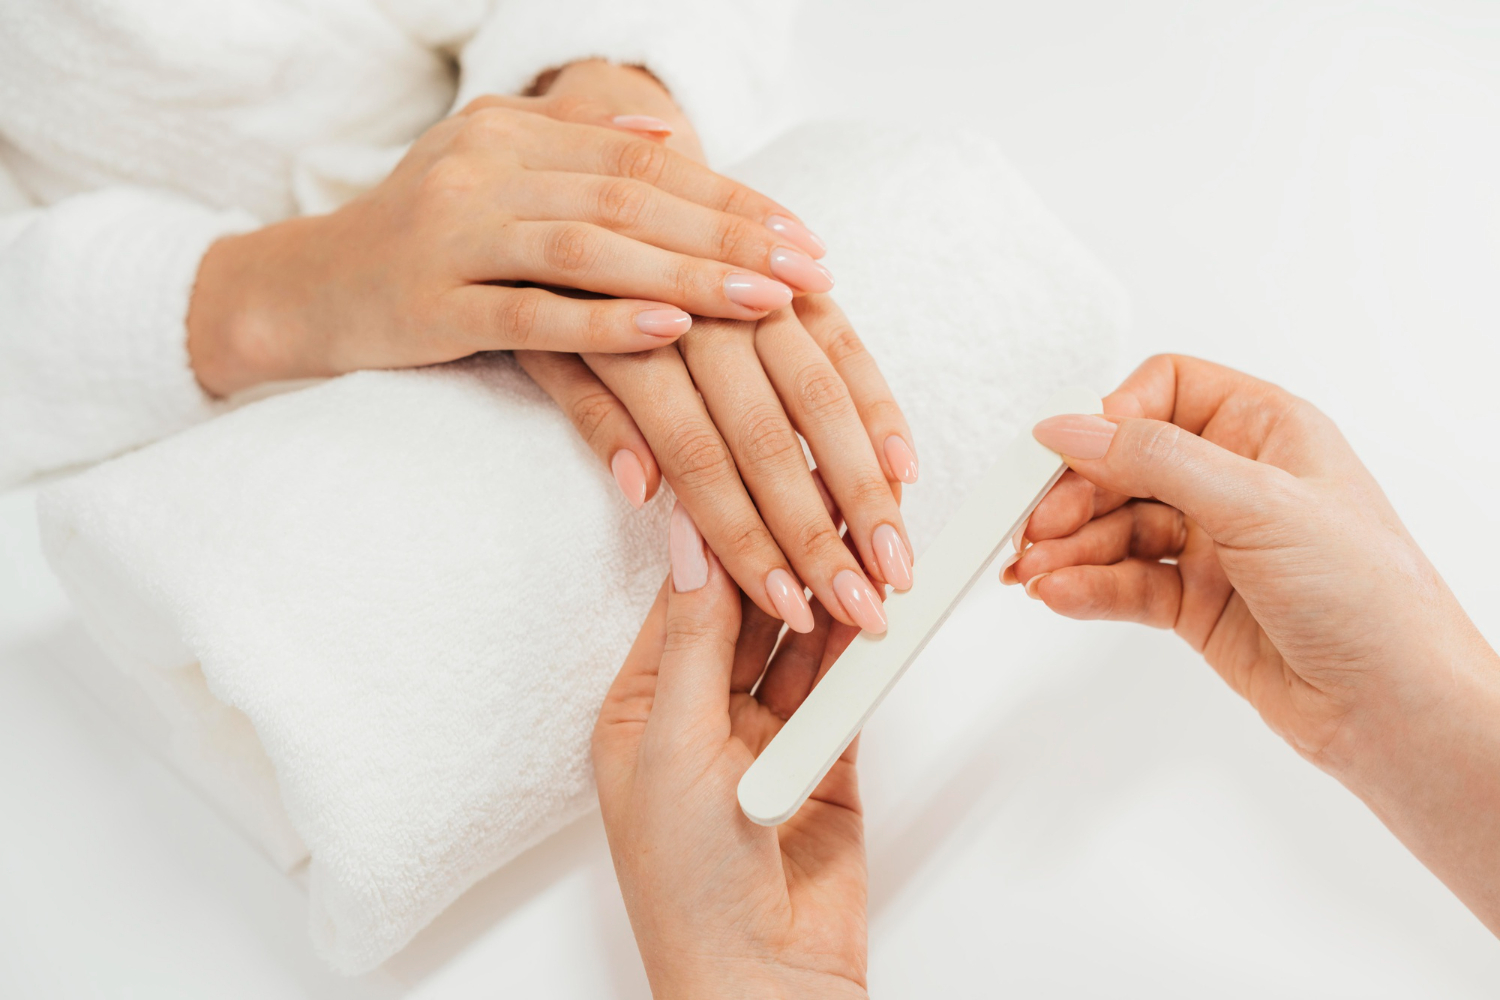
If you love the look but are having a hard time recreating this look yourself, don’t be afraid to head to your local nail salon.
People often have a hard time justifying spending money on themselves for things that they think are a bit frivolous. But it’s not. This is about self-care, which is not a luxury, it’s essential!