Acrylic nails look fabulous and posh. That’s why many of us love them. However, in order to make your acrylic nails always look amazing, you need to refresh them regularly –usually every two weeks. Given the cost, hassles, and timing necessary to visit your local nail salon, many are considering their DIY options.
You don’t have to sacrifice your love of acrylic nails just because they are expensive and may take a while to get done. With practice and persistence, you can enjoy the benefits of DIY acrylic nails at home!
Let’s get started by first identifying what you’ll need for acrylic nails. Then we’ll detail the process of getting the perfect look.
Contents
Steps And Materials For Applying DIY Acrylic Nails
In this article, we’ll break down the process of prepping and applying DIY Acrylic Nails. We’ll start by going over how acrylic nails are applied. Then we’ll discuss what materials you need for acrylic nails.
Keep in mind that applying nail tips is an optional step, but those luxurious long tips can really amp up the overall look when done properly.
Step 1: Preparing The Nails
The first thing that you need to do before you apply acrylic nails is to prepare the natural nail. This essential step should not be skipped to make sure your acrylic nails stick to your natural nails. This helps prevent them from lifting so that your fabulous manicure lasts and remains healthy.
If water gets between your acrylic and natural nails, you can get a breeding ground for bacteria.
If water gets between your acrylic and natural nails, you can get a breeding ground for bacteria.
During the preparation, you’ll be dealing with your cuticles. You’ll need to either cut your cuticles or push them. Pushing is definitely preferable. After that, you’ll shape or cut your nails to the appropriate length, and then buff the nail bed.
Make sure all of the tools you use are clean and sanitized to avoid infection of the nails.
Make sure all of the tools you use are clean and sanitized to avoid infection of the nails.
For this step you will need the following:
1. Cuticle remover or softener

- Instantly softens cuticles and get nails...
These solutions, like the California Mango Cuticle Softener shown above, are applied to the cuticles to help soften the dead and dry cuticles so they can easily be removed.
2. Cuticle pusher or stick, and cuticle trimmer

- 【Updated Polished Stainless Steel...
- 【Ergonomic Handle Design, Non-slip...
- 【Effective Jaw Design Of the Cuticle...
- 【Dual End Nail Pusher & Perfect for...
- 【Easy to Clean】These Cuticle Remover...
Cuticle pushers like this set by Ejiubas are made of stainless steel, but there are also cheaper disposable wooden ones like these from Beauticom.
Either can be used to push or trim the cuticles.
As mentioned above, some people prefer to cut their cuticles while others just want to push them. We suggest pushing, in general. Either way, this exposes the nail underneath so that the acrylic can fully adhere to it.
The goal here is to attach the acrylic to the nails rather than the skin. This will prevent the nails from lifting.
3. Nail clippers and file
Nail files and nail clippers will be used to shape your nails. Use nail clippers first then fine-tune the shape using the nail file. Once again, make sure everything is properly disinfected.
4. Buffing block
These are used on the nail surface and it removes the shine on the nails. This also ensures that the acrylic adheres properly to the natural nail.
5. Brush or a lint-free cloth
This is used to remove the dust produced when filing or buffing the nail. You can also use a nail dust collector.
Step 2: Apply Tips (Optional)
If your nails are short and you want longer ones, you can choose to use nail tips, silk wraps, or other nail extensions.
If not, you can proceed to the next step.
Nail tips are very beginner-friendly but you have to find the right size for your fingernails for them to look natural.
For this step, you’ll need the following materials:
1. Nail tips

- AORAEM 500pcs French Acrylic Style...
- The 500 PCS artificial nails offer 10...
- AORAEM nails are easy to trim,paint and...
- These strong fake nails are designed...
- The half cover french false nail tips...
Nail tips like the Lady French False Nails shown here are sold as a set. Each set contains different sizes. They also come in different shapes. If you don’t like the shape or length, they can also be filed to the shape you want.
An electric nail file is a big help here.
2. Nail glue
This is the adhesive used to attach the nail tip to your natural nails. Only use a small amount of this glue so that it doesn’t get to your skin.
Stick with nail glue, and avoid household glues like Elmers and Krazy glue. These glues aren’t designed to go on the body.
Stick with nail glue, and avoid household glues like Elmers and Krazy glue. These glues aren’t designed to go on the body.
If you happen to get some nail glue on your skin, see here.
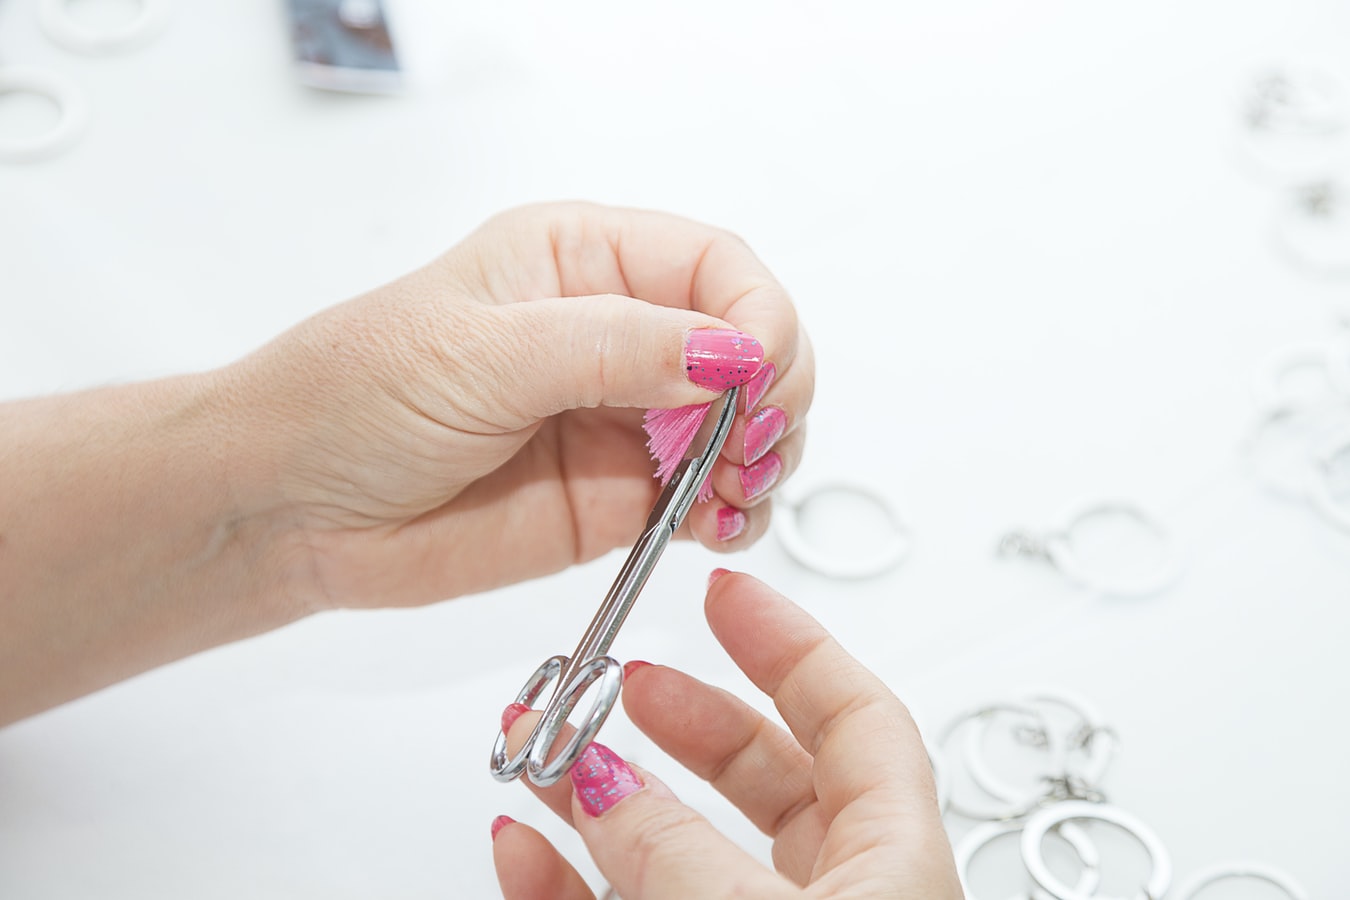
3. Nail tip cutters
These are specially designed to cut nail tips. It snips the nail tips in just one motion to the desired length.
4. Nail file
Like in the previous step, the nail file will help you shape the nail tip. Nail files can be manual electric nail drills, but remember: don’t use a drill on your natural nail.
5. Buffing block
Like your natural nails, the nail buff should also be used on the nail tips to remove the shine and make it a better surface for the acrylic nails you are going to use.
6. Brush or a lint-free cloth
Used to remove dust.
Step 3: Acrylic Nail Application

- Package Contents: 1 x Acrylic powder...
Acrylic nail kits will vary from one brand to another. Some will include only the basic materials you’ll need, like the WindMax 6 in 1 Nail Art Kit Set, while others have added materials that you can use to further decorate your nails according to your preference.
No products found.
The COSCELIA Acrylic Nail Art Kit is a great example of a more extensive kit.
Regardless, the acrylic nails from various providers are all essentially applied in a similar manner. Note that sometimes, in the days after you get acrylics, you can feel some pain or discomfort as your fingers get used to them.
What Materials are Needed for Acrylic Nails?
What do you need for acrylic nails? Here’s a list of everything you need to rock DIY Acrylic Nails.
1. Nail Dehydrator
This usually comes in the kit, but not always. If your kit doesn’t have one, it is likely you don’t need one for your particular setup.
Some nail dehydrators may also be labeled as “nail prep”.
This dries quickly, so make sure to always keep it covered. Also, you should only apply this to the natural nail. If you are using tips or just filling your nails, don’t use it on the tips and acrylic.
2. Nail Primer
Nail primers, on the other hand, are mostly used on nail tips and not on natural nails or acrylic nails. Some can be in acid form while others are non-acid.
The acid primers are harsher and than non-acid primers. However, you should use them infrequently on natural nails.
3. Dappen dish

- 4 X Glass Dappen dishes/nail glass cup/...
- Damping dish for nails is small but...
- The nail liquid holder is easy to use...
- Great for mixing all acrylic liquid and...
- Also great for putting alcohol in for...
This is a glass container that holds the liquid acrylic. There are many options available, such as the 4-piece set shown above by BYTMS. If you want to heat up the dappen dish to speed the curing process, you can soak it in hot water.
4. Acrylic liquid monomer

- SUPERIOR ADHESION: Maximum strength...
- MONOMER HAVE STRONG SMELL, because it is...
- 100% Satisfaction Guaranteed
The acrylic nails are created when two components namely, the acrylic powder and the liquid monomer, are mixed. They form the acrylic bead that goes over the nail.
5. Acrylic powder
This is the second ingredient in making the acrylic bead. It can come in a variety of colors. Some even have glitter and other decorative pieces in them.
See some ideas for powder kits here.
6. Acrylic brush

- Made of precious rosewood and 100%...
- Ideal for drawing lines & fine drawing...
- Nail brush hair does not fall off easily...
- Easy to use, great quality hair, and...
- Suitable for professional use or home...
This is the primary tool in applying the acrylic nail over your natural nail or over the nail tips.
These brushes are typically made of Kolinsky Sable hair. The brush is dipped into the liquid acrylic to get it wet and absorb some of the liquid acrylics. The excess can be removed by swiping the brush on the edge of the dappen dish.
Then, it is dipped in the acrylic powder.
The bead consistency is very important and an excess of the liquid can damage the cuticle area when it pools there. It takes practice to get the right consistency.
If you develop a reaction to acrylics, it is probably because there is too much liquid in your mixture. A proper bead consistency has a ratio of liquid to powder at about 1 ½:1 up to 2:1.
Also, remember to be extra careful when applying the acrylic bead near the cuticle area.
Note that high-quality acrylic nail brushes are expensive, and you should carefully clean them after each use.
7. Nail forms

- 【Feature】Our nail extension form has...
- 【Universal】Total 200 pieces fold...
- 【Usage】After you manicure your nails...
- 【Application】Suitable for poly gel...
- 【100% satisfied】If you have any...
These are stickers that you fit on the nail to give you a guide. They help you extend your acrylic nail and form the proper shape. They act as an extension of your nail to support the acrylic nail during formation.
Using this is an alternative way of lengthening your nails without using nail tips.
8. Pinching tool

- ★ Come with 8pcs acrylic nail clips,...
- ★ Apply thin layer clear builder gel,...
- ★ Perfect for long nails and stiletto...
- ★ Great tool for new starters, and...
- ★ √Best Gift -- The nail clip set is...
While the acrylic nail is drying, you can use pinching tools like the Kalolary C Nail Curvature Pinching Clips to improve the curvature of the nail. The pinching tool helps for the C curve of the acrylic nails to improve their strength and appearance.
The pinching tool is left in place for about 3 minutes.
9. Nail File
The nail file will be used again in this step. It will help smooth the acrylic nail. The file can also be used to round the edges and improve the shape of the nail.
This also helps easily attach other decorations to the nail such as rhinestones, if preferred.
10. Top Coat

- ICE GEL is a top coat for acrylic system...
Once the design is made, the last thing that goes over the acrylic nail is the topcoat. It seals the acrylic nail and makes it more durable and long-lasting. Some topcoats dry on their own after a couple of minutes like the Mia Secret Top Coat shown above.
As an alternative, there are also others that need to be cured under a nail lamp like the Beetles Gel Top Coat.

11. Cuticle Oil
This is another optional product that you can apply to your cuticles after the procedure. It helps moisturize the cuticles and make them look healthy. We have some great DIY recipes here!
12. Hand Cream
Using any hand cream after the procedure is another bonus. Acrylic nails can improve the appearance of your nails.
But a hand cream is what you used to make the rest of your hand more beautiful.
Moisturizing hand creams will also help prevent signs of aging from appearing on your hands.
Conclusion
Many of the items you need for DIY acrylic nails are found in a general manicure kit. Acrylic nail preparation is not dissimilar to lacquer nail polish prep, and is pretty similar to Fiberglass nails. On the whole, acrylics are considered more difficult to do than dip nails. Typically they take between 30-60 minutes to do.
Remember, you don’t need to buy each one separately. They are often sold in kits. You just have to figure out which kit will best suit your preference. If it is your first time purchasing a kit and is unsure if you would love the acrylic nails, getting a complete kit with the essentials, like the Coscelia kit, is your best bet.
No products found.
Good luck with your beautiful nails!